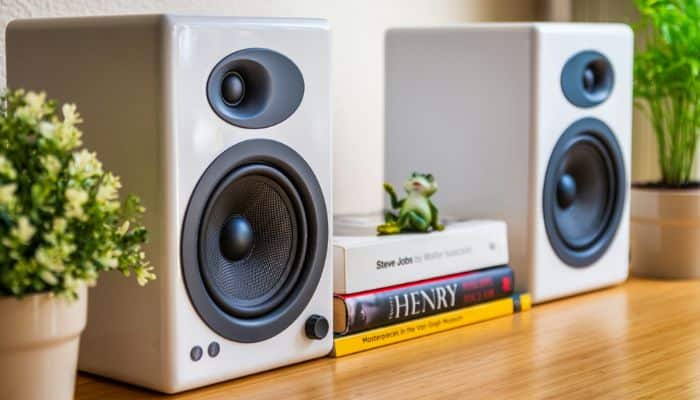
Home stereo speakers are a vital component of any music lover’s system. They provide high-quality audio and create an immersive listening environment. However, dust and grime can accumulate on speakers over time, which reduces their sound quality.
This article will give you a complete guide on the process of cleaning home stereo speakers effectively. Further, this article will help you with the best materials and cleaners to use for cleaning your stereo speakers’ cabinets, grills, speaker cones, and terminals.
Best Materials For Cleaning Speakers
Before you start cleaning, find out what the cabinets are made of, regardless of the type or size of the speaker. Woods are used for creating speaker cabinets. Knowing the exterior will help you determine the best cleaning and finishing procedures.
If you are unsure about the material of the speaker cabinet, examine the product manual or the manufacturer’s website. The manufacturer might suggest solutions or sprays that will not harm the materials.
For basic surface cleaning, use warm water combined with mild detergent. Add additional baking soda to the mixture if you need a bit extra power to scrub out tough dirt or sticky stains.
The material type affects whether you should use oil to condition or varnish to protect the outside after cleaning. Oils are often better suited for usage with actual wood, and varnish is good for plywood, MDF, vinyl, or laminate.
How To Clean Home Stereo Speakers

Here are the steps to clean your home stereo speakers:
- Turn off and unplug your stereo system from the power source.
- If the speaker grills are detachable, remove them. Most speaker grills can be removed by gently pushing them away from the speaker.
- Place the grill on a flat surface and suck the dust away using a vacuum hose fitted with a dust brush attachment. Wet a cotton or microfiber cloth with a mixture of warm water and mild detergent and scrub the dirt in circular strokes, working softly as you go. Allow the area to dry after rinsing it with a cloth and plain water.
- To remove dust and debris from the speaker cones and the surrounding region, use a soft-bristled brush or a vacuum cleaner with a soft brush attachment. Be cautious with the brush and avoid touching the cones.
- If the speaker cones are exceptionally dusty or sticky, wipe them clean with a slightly moist cloth. Use only a little damp cloth, and avoid getting moisture on the speaker’s internal components.
- Once you have finished cleaning, reattach the speaker grills.
Also Read:
Cleaning Home Stereo Speakers: Tips
Here are certain things to take care of while cleaning your home stereo speakers.
- Consult the user manual for your specific speaker model if you are unsure how to remove the speaker grills.
- Instead of a vacuum or cloth, use a can of compressed air to clean speaker cones.
- When cleaning your speakers, stay away from using chemicals or sharp objects because they might harm the speaker cones and other internal parts.
- Consult a qualified technician if you are unsure about the safety of cleaning your speakers.
Conclusion
Cleaning your home stereo speakers is an important maintenance step that will help in ensuring your system delivers the best possible sound. You can keep your speakers in its original condition by following the instructions given in this article. If you have any concerns regarding the safety of cleaning your speakers then consult a qualified technician.
FAQs
Can cleaning improve sound quality?
Regular cleaning can keep dust and debris from affecting the speaker’s performance, resulting in perfect sound quality.
How often should I clean my speakers?
Dust your speakers every few weeks to avoid buildup. Clean thoroughly every 3-6 months, or as needed, depending on your environment.
Is expert cleaning necessary?
No, most cleaning can be done at home with the correct tools and skills. Professional cleaning is typically not required unless there is extensive damage or dirt buildup that you are unable to handle.


